This thread is meant for discussions around development efforts related to Worx Landroid robotic mowers. This includes leveraging the RESTful API that exists in some models (such as the WG796E), as well as reverse engineering with the aim of creating custom firmware.
Developers from all countries welcome.")
Developers from all countries welcome.
The Worx Landroid WG796E - and presumably also the WG797E - sports a RESTful API interface that consumes and produces JSON. The endpoint for the interface is at /jsondata.cgi on port 80 on the mowers IP.
If you access /js/app.js on the same port, you will find the (un-minified) JavaScript implementation of the smartphone app, implemented using technologies like jQuery, underscore and backbone. You can easily see some examples in there how to communicate with your Landoid.
The API uses Basic HTTP authentication with "admin" as username and the units PIN code as password.
If you send a GET request to the endpoint (the JavaScript uses a "login" parameter without a value that seems optional), you will get a response with all the status and settings known to be available via the API. The names of the variables are in Italian (presumably since the Italian IT consultant Alessandro Berlato seems to have been involved in the development, considering test.tryout.it host used for testing). Some explanations in English are provided as comments inline.
{
"CntProg": 95,
"lingua": 0, // Language in use
"ore_funz": [ // Hours something...
100,
122,
100,
120,
110,
40,
50
],
"ora_on": [ // Hours per weekday that the Landroid should mow
4,
4,
2,
3,
3,
2,
2
],
"min_on": [
0,
0,
0,
0,
0,
0,
0
],
"allarmi": [ // Alarms
0,
0,
0,
0,
0,
0,
0,
0,
0,
0,
0,
0,
0,
0,
0,
0,
0,
0,
0,
0,
0,
0,
0,
0,
0,
0,
0,
0,
0,
0,
0
],
"settaggi": [ // Settings
0,
0,
0,
0,
1,
0,
0,
1,
1,
1,
0,
0,
0,
0,
0,
0,
0,
0,
0,
0,
0,
0,
0,
0,
0,
0,
0,
0,
0,
0,
0
],
"mac": [ // The MAC address of the Landroid WiFi
...,
...,
...,
...,
...,
...
],
"time_format": 1,
"date_format": 2,
"rit_pioggia": 180, // Time to wait after rain
"area": 0,
"enab_bordo": 1, // Enable edge cutting
"g_sett_attuale": 1,
"g_ultimo_bordo": 0,
"ore_movimento": 626,
"percent_programmatore": 50, // Percent increase of the automatic area setting
"indice_area": 9,
"tipo_lando": 8,
"beep_hi_low": 0,
"gradi_ini_diritto": 30,
"perc_cor_diritto": 103,
"coef_angolo_retta": 80,
"scost_zero_retta": 1,
"offset_inclinometri": [
2044,
2038,
2679
],
"gr_rall_inizio": 80,
"gr_rall_finale": 300,
"gr_ini_frenatura": 130,
"perc_vel_ini_frenatura": 50,
"tempo_frenatura": 20,
"perc_rallenta_max": 50,
"canale": 0,
"num_ricariche_batt": 0,
"num_aree_lavoro": 4,
"Dist_area": [ // Distance in meters to the zone starts
18,
71,
96,
129
],
"perc_per_area": [ // Percentage per zone, expressed in 10% increments (i.e. 3 = 30%)
1,
2,
3,
4
],
"area_in_lavoro": 5,
"email": "...", // The e-mail address used to log into the app
"perc_batt": "100" // Charge level of the battery
}
Redigerat:
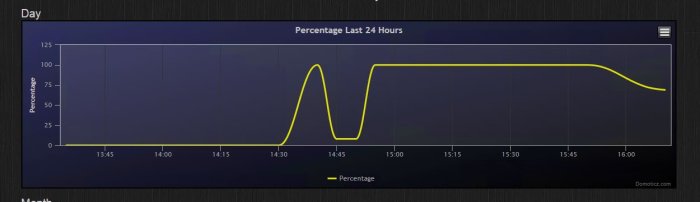
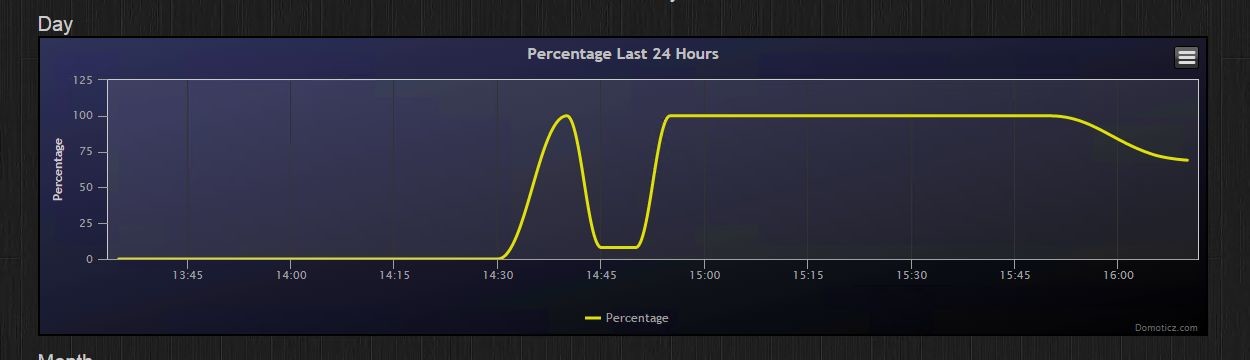
I have created a Node.JS project on GitHub, that polls the Worx Landroid for current status, and then publish the result to Domoticz. At the moment it allows tracking the battery level of the Landroid over time.
Looks fantastic! Just a question on the environment...the Domotics is a software that you install on a PC etc at home which is present on the same wifi net as the worx? Where do you have execute the JS code? On the Domotics system?
Best regards
Angr77
Best regards
Angr77
I'm intending to create a README for the project, but until then:Angr77 skrev:
In order to get this running, you will need
- A Domoticz server running on a PC, Raspberry Pi or other supported hardware
- An MQTT broker. I used Mosquitto running on Windows
- My application executed in an environment supported by Node.JS
Some challenges faced after installing the three apps + code...a readme file would be fantastic. I get the Domotics to work and also to configure a hardware requesting for MQTT information on port 1883.
Trying to start the Mosquitto broker...it complains about a file named SSLEAY32.dll which is missing...Which is a opensll library....downloaded this packages...but now things starts to be very complex....
Best Regards
angr77
Trying to start the Mosquitto broker...it complains about a file named SSLEAY32.dll which is missing...Which is a opensll library....downloaded this packages...but now things starts to be very complex....
Best Regards
angr77
Hi there!
Just to get in the game I also pushed a client that polls the Landroid for data and publish it using mqtt.
I will continue building on it, right now it only reads the battery level. Any suggestions are appreciated!
It's written in python and can be found here: https://github.com/trieb/worx-landroid
Just to get in the game I also pushed a client that polls the Landroid for data and publish it using mqtt.
I will continue building on it, right now it only reads the battery level. Any suggestions are appreciated!
It's written in python and can be found here: https://github.com/trieb/worx-landroid
The JSON response documentation has been added to the https://github.com/mjiderhamn/worx-landroid-domoticz.git project README.md, where proper formatting + syntax highlighting and updates are possible.
Hi,
I’m very happy to find the “Worx Landroid development” thread (in English) here. My target is to integrate the WG796E into my Smart-Home-System to monitor it and to send commands to the mower triggered by weather or other conditions.
First some general thought I’d like to share… There are basically three ways to approach the customizing of the WG796E:
1) Use http://landroidIP/jsondata.cgi to retrieve data and send commands (from external systems). Basic functionality can be found at http://landroidIP/js/app.js (this is pretty straight forward). However there are still some values that might allow deeper customization. The meaning of the alarm- and setting-bits as well as gradi_ini_diritto, perc_cor_diritto, coef_angolo_retta etc. still has to be determined.
2) All the information and commands from point 1) could probably be included in an updated web-interface on the mower. So it would be accessible through the smartphone-app (in same LAN only) or directly from a browser. The file “db297.pck” from the update to version 12.1 is basically just all the files for the internal webserver. Changes in this file (as long as the structure stays intact and probably checksums are newly calculated) will change the web-interface. The webserver won’t process any of the scripts – so if you crash something it will happen on your browser and the mower is still usable.
3) For those that like it hard-core - the file “db297.bin” can be reverse engineered and changed. This will completely replace the firmware… And probably damage the WG796E completely.
Well, I focus on point 1) because that seems most promising to me. I’ll keep you posted…
Best regards,
Abraham (from Switzerland)
Great work guys! I wish I could be of use, but unfortunately I am pretty useless when it comes to coding and such. However, I will follow this thread closely, and when you find solutions, hopefully you can support us with no skills.
Good luck
Good luck
The Domoticz device configuration has now been automated to allow getting started easier, see new instructions on https://github.com/mjiderhamn/worx-landroid-domoticz.git
I have also added alerts/alarms support.

From there, the project itself does not need to be compiled nor installed. We do however need to download the dependencies that the project uses. The "npm install" does the downloading, into a subdirectory ("node_modules") of the cloned repository. You can also ask npm to install dependencies globally (see npm tutorial).
I have also added alerts/alarms support.

The "git clone" command downloads the repository to your computer, either where that command is run, or to a directory that you choose in your Git client (see a Git tutorial).Angr77 skrev:
From there, the project itself does not need to be compiled nor installed. We do however need to download the dependencies that the project uses. The "npm install" does the downloading, into a subdirectory ("node_modules") of the cloned repository. You can also ask npm to install dependencies globally (see npm tutorial).
Redigerat: